
If you spend much time on the internet, you have probably seen someone do a fail video on the charcoal face mask. I finally got my hands on some Activated Charcoal, and wanted to do it myself.
A few things to note before we get started:
- Think of this as less of a “relaxing” mask, because it is more like a pore strip. You can relax after its over
- It could take a while for the glue to dry, so don’t do this if you are in a rush
- Also, your face will probably be red and flushed after this, so its best to not do it before you go out. Its more of a “relaxing” night in kind of thing.
- Don’t put it on areas that have a lot of hair… unless you want them to not have a lot of hair, and you have a high pain tolerance.
- Note- it doesn’t work the same as waxing, so you probably won’t get even hair removal… But if you do, let me know
- You are going to want a paintbrush. I just use a cheap one from the dollar store. The brush lets you put an even coat on
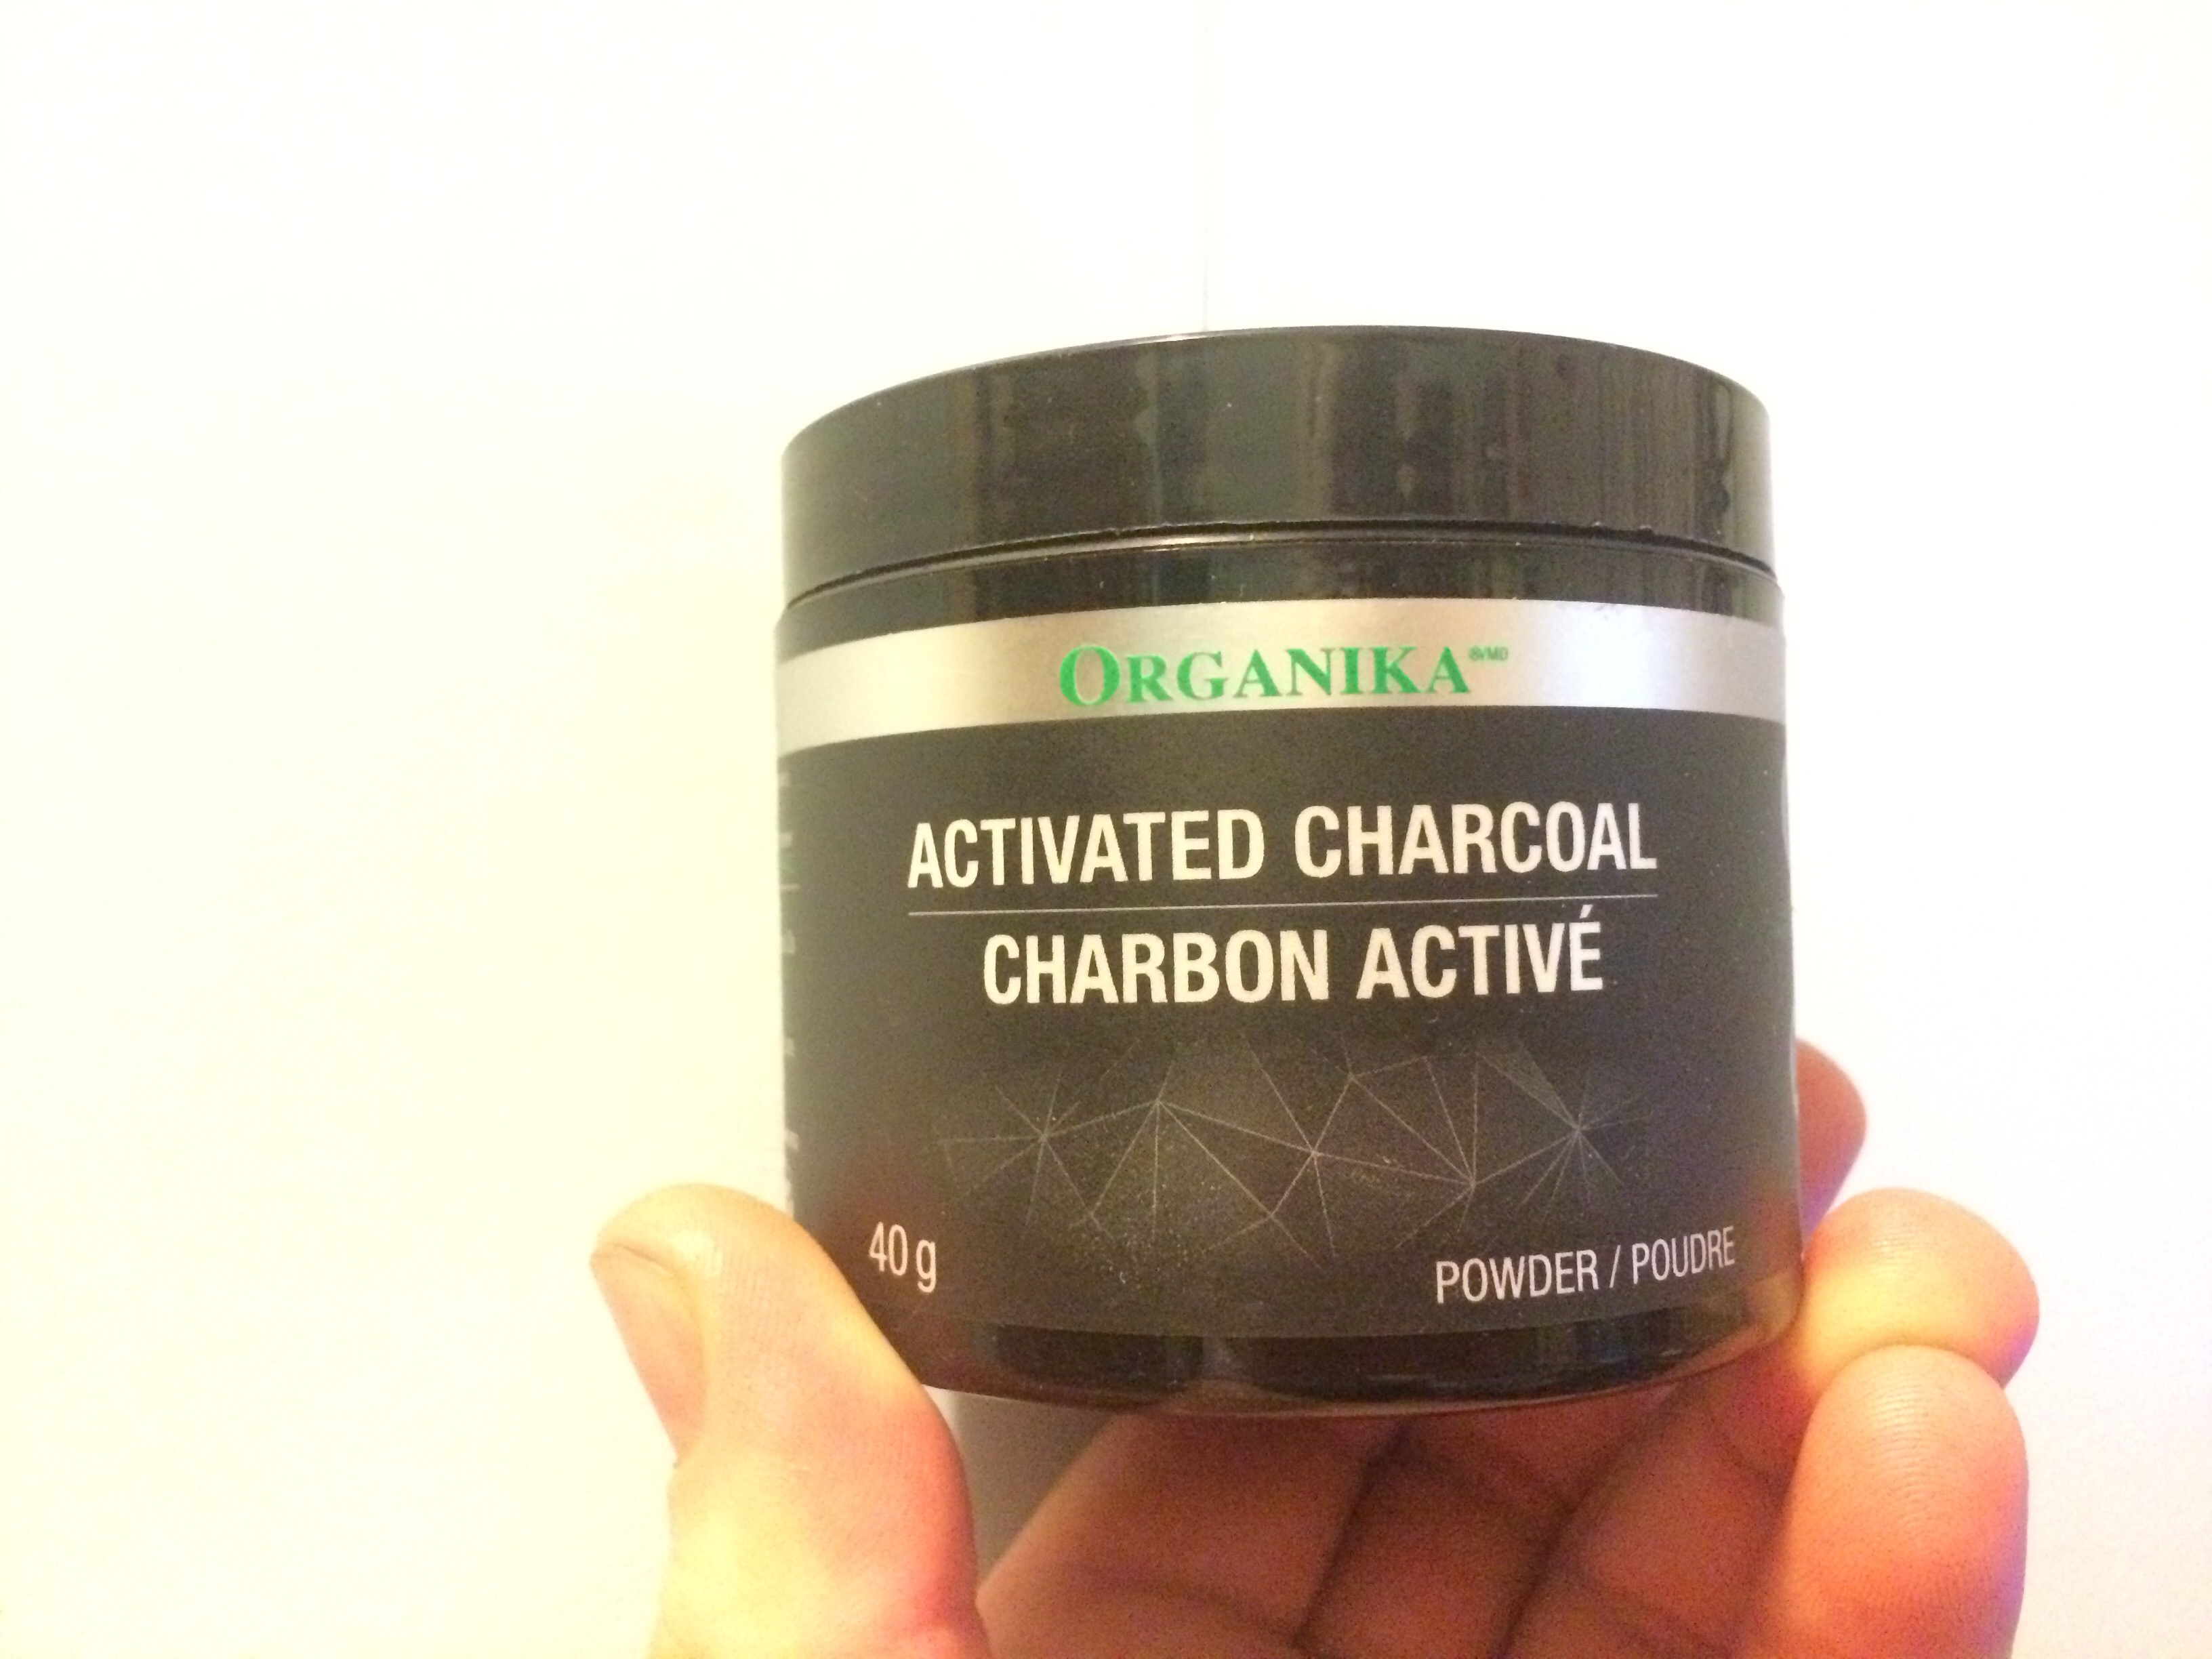
Step one- mix about 1/2 tsp activated charcoal, into about 1 tbsp of regular non-toxic Elmers school glue. (roughly a 1 part charcoal to 6 parts glue, but add more of either to get a thick paste). If you are just going to do a smaller area, you can make a smaller batch up. Like, you probably wont need a whole tablespoon of glue for just your nose.
Step 2- mix well.
Step 3- Paint onto your face. I generally stick to my nose and chin. If you do your whole face, be prepared for it to take a while to peel off. If you’ve seen the fail videos, this is usually where they didn’t think through how much this may hurt.
Step 4- Let dry completely. Especially if you painted it on a little thick (the sides of my nose usually take the longest to actually dry). The mask will be a matte black when it is all dry and it kind of sinks into your pores a little bit.
Step 5- Peel off. Go slow… If you have a low pain tolerance, this could not be the mask for you
Step 6- Look at all the gross stuff that came out of your face (My favorite part)
Step 7- Wash your face to get any residual mask off that you may have missed
Step 8- Wipe your whole face with a toner. I usually just use Isopropyl Alcohol, since I always have it around.
Step 9- Enjoy your clog-free pores.


Leave a reply to 1 Day til Christmas – Merry Christmas Eve! | The Crafty Cultivator Cancel reply